You’ve got to be careful about how you clean and care for your bean bag. As they’re handcrafted in a variety of different fabrics and colours, bean bags require different levels of cleaning and maintenance – and your technique should be based on the material.
This bean bag cleaning and maintenance guide explains some general tips on how to clean a bean bag, as well as specific advice on cleaning different fabric types. You’ll also find plenty of useful info on bean bag repairs and keeping your bean bag in good condition.
Use the links below to navigate to the section you’re most interested in.
- How to clean a bean bag
- Cleaning different bean bag fabrics
- Getting red wine stains out of a bean bag
- Tips to keep your bean bag in shape
- How to repair a bean bag
- Can a bean bag be left out in the rain?
- Will the sun affect a bean bag?
- How to open a bean bag zip?
How to clean a bean bag
As a general rule of thumb, you should always surface spot clean a bean bag with a damp sponge. The exact technique you use will depend on the material that your bean bag is made from (more on this below).
We recommend that you clean your bean bag by hand – do not machine wash or dry clean bean bag fabrics, as this can damage your bean bag cover or cause it to shrink. Never use bleach products to clean a bean bag as this can discolour it.
Cleaning different bean bag fabrics
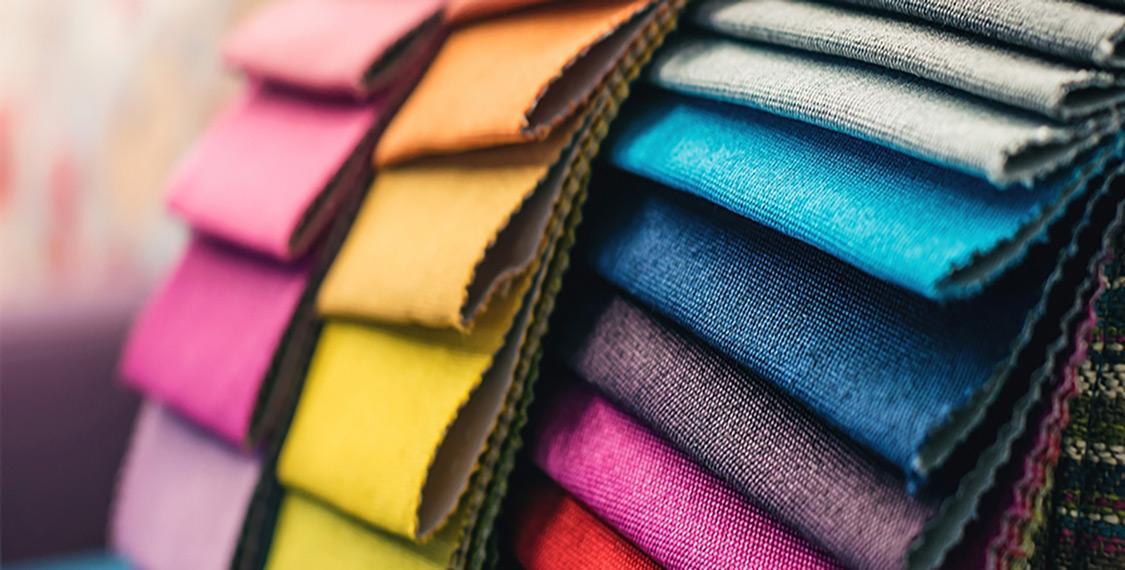
Some fabrics are more durable than others. The level of cleaning that your bean bag requires will depend largely on its material and colour. Here, we’ve outlined our top tips for cleaning different bean bag fabrics, from low-maintenance materials like cotton to faux suede and leather.
Cleaning cotton and more durable materials
Bean bags that are made of cotton, corduroy, indoor/outdoor fabric, and other more durable materials are relatively easy to clean. You’ll get the best results by spot cleaning your bean bag with a damp cloth and soapy water.
Use light, circular motions for the spot cleaning process. Any more difficult patches can be cleaned by gently scrubbing with a moist, soft-bristled toothbrush, then wiping the moisture off with a dry cloth.
How to clean a leather bean bag
Real leather and faux leather bean bags should be cleaned as regularly as possible to prevent any buildup of dirt. For these products, try starting off with a damp cloth or wet wipe, then move on to use warm, soapy water if you find that any of the marks won’t budge.
Cleaning faux suede bean bags
Faux suede bean bags are most suited to a light brushing technique, using a suede eraser and metallic suede brush, before lifting any stubborn marks with a slightly damp terry cloth. Use a gentle blotting motion rather than scrubbing. Finally, leave the faux suede to dry out completely so that you can tell if the material needs any further cleaning.
Cleaning delicate fabrics like chenille and velvet
Luxury fabrics like chenille and velvet make seriously comfy bean bags, but they also require a more delicate approach to cleaning.
It’s best to start by using a damp cloth with nothing more than a bit of water. Making sure that the cloth is damp (but not soaking wet), spot clean the area using a gentle dabbing or blotting motion to lift the dirt. Wait for the fabric to dry completely to see if this has done the trick.
If a bean bag made from delicate fabric isn’t getting clean with water on its own, add two drops of washing up liquid to the water and gently blot the area again before allowing it to dry. Avoid using vigorous motions that could stretch or damage the material.
Getting red wine stains out of a bean bag
While the dreaded red wine stain might be an issue, don't use bleach as it's just going to exacerbate the problem. Bleach can discolour your bean bag and, in many cases, this will leave it looking much worse than before. For red wine stains in particular, you should also forget the age-old adage that white wine will fix the problem - this definitely doesn’t work for bean bags!
Follow these steps to get red wine stains out of a bean bag:
- As soon as you notice a red wine stain on your bean bag, gently dab the area with a dry cloth to pick up as much wine as possible before it soaks into the material.
- Next, blot the stain with a slightly damp terry cloth using plain water.
- If the stain persists, mix in two drops of washing up liquid and use this solution to dab the affected area.
- For serious red wine stains, you can also use a specialised upholstery or carpet cleaning product (but make sure that it doesn't contain bleach).
Your bean bag will be similar to a carpet: some marks can be removed straight away if you tackle them at the time, whilst others just might not come out at all. It’s always worth trying to resolve the situation in the moment rather than leaving it for later.
Tips to keep your bean bag in shape
One of the most important parts of maintaining a bean bag is keeping it in shape so that it looks good and stays comfy. These tips should help:
- As tempting as it may be, don't use your bean bag as a weapon in pillow fights! Not only is it extremely unfair against the pillow user, but it may also become misshapen and broken if the fight goes on for too long!
- Similarly, if you (or your kids) are practising for your pro-wrestling career, a bean bag isn't the best object to practise landing on. Often, the kids love jumping all over their new addition to the house, but we advise you don't as they can become misshapen and damaged.
- Watch out for keys, pens and knives. These are the common culprits for puncturing our hand-crafted bean bags at home.
- Keeping dust off is an essential part of bean bag maintenance. Give your bean bag a quick shake or a gentle wipe every now and then, or cover it up when you're not using it.
- Sweat may harm the fabric so try and keep clothes on if you're lounging in the garden. Similarly, put a cover over it if you're trying to top up that tan. If you've got a bit hot and sweaty, give it a quick wipe; our outdoor variants are amply suited for this kind of defence!
- Don't iron your bean bag. Some people wish to get every single crease out of their bean bags which isn't advisable as a hot iron is very likely to damage it. Bean bags are designed to be sat on, not worn; creases are comfort slots!
- Don't put your bean bag in your pool. Seriously, we cannot stress this enough - it isn't a floatation device and taking it for a dip will almost certainly ruin it! Always opt for a rubber ring.
How to repair a bean bag
Despite our best efforts, sometimes accidents can happen. But have no fear, we’ve got you covered with this dedicated section on how to repair a bean bag. The first step towards successful bean bag repair is to identify the problem – is there a rip in the outer lining or has the inner bag split?
How to fix the outer lining of a bean bag
To repair a hole in the outer lining, follow these instructions closely:
- Find the hole
Locate the hole and, once you’ve found it, make a quick mental note of where it is. - Clean the surrounding area
Before you fix the hole itself, you’ll need to clean the area around it to make the next few steps a little easier for yourself. The cleaning method you use will depend on the type of material, so follow the material-specific cleaning instructions above and leave the bean bag to dry out before going any further. For polyester products like our indoor/outdoor range, finish off by applying a little rubbing alcohol with a cotton cloth. - Apply your bean bag repair patch
Instructions for how to apply the patch will vary depending on the type of bean bag repair patch kit you’ve bought – it’s worth noting that you should avoid iron-on kits if possible. Follow the guidance on the packaging closely to adhere the patch to your bean bag.
Should you find that the patching process doesn’t work out or the patch comes loose shortly after, the easiest option is to buy a replacement bean bag cover. Luckily, we offer an extensive range of replacement bean bag covers. Find your existing material to restore your bag to its former glory or choose a new same-size cover for a revamped look.
What to do if the inner bag has split
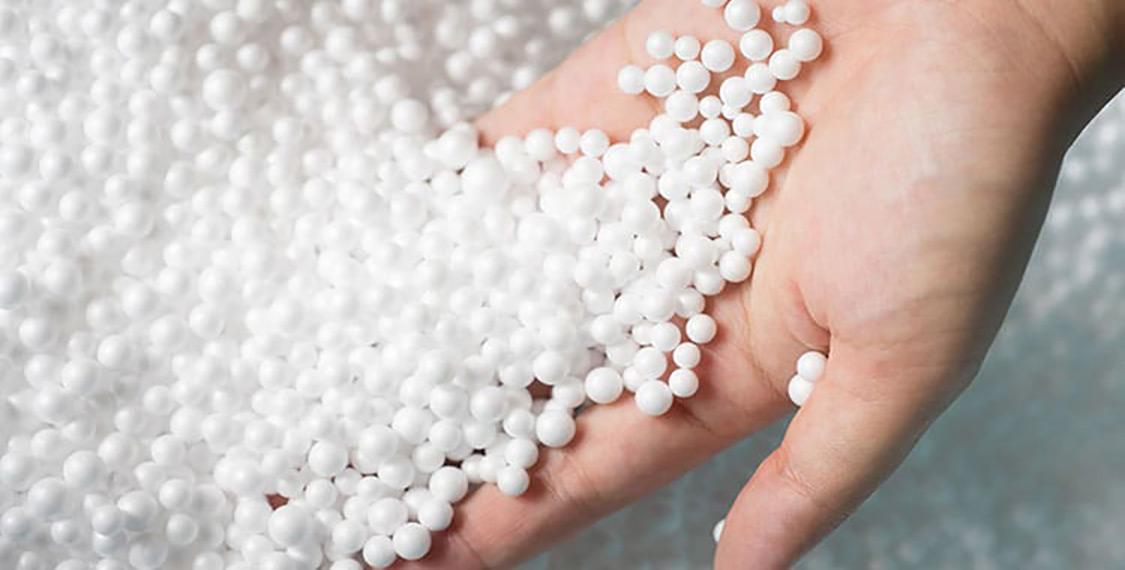
If the inner filler container has split, we would advise you not to attempt a bean bag repair: our refill bags are the cheapest, most effective way to get your bean bag back to its original plump and comfy state. Check out our guide on how to fill a bean bag for more information.
Can a bean bag be left out in the rain?
In general, there aren't a lot of things that should be left out in the rain regularly. This includes our indoor/outdoor bean bags.
If there is a light shower, don't worry; just let the bean bag dry out naturally in the sun for enjoyment later on.
For heavy rain showers, however, we recommend either bringing it inside, covering it up, or storing it away from the downpour.
Will the sun affect a bean bag?
Our indoor/outdoor bean bags are made to be used as a lounger in the garden with your favourite book or Netflix series. For this reason, we've designed them to stay protected against the sun with a specially formulated UV-resistant material.
However, if you've got a darker coloured bean bag, expect it to absorb heat regardless. If it's too hot to sit on, just throw a towel or blanket over it and you're good to go.
How to open a bean bag zip
Our bean bags zips are designed to be hard to open.
With our anti-tamper zip mechanism, you can expect fillings to stay inside and not over your floor. They are hidden away from prying fingers but can be opened if needed.
You'll need to pull the zipper mechanism out to access the filling; a paper clip can be helpful here. Be careful not to jam anything into the zip as this may cause it to break.
Wrapping up
This bean bag cleaning and maintenance guide has outlined our top tips for keeping your favourite accessory clean and in good nick. We offer a range of handy items that can help you to get the most out of your bean bag, including bean bag refills and replacement bean bag covers.
Still have some questions about how to clean or repair your bean bag? Don’t worry, just get in touch and we’ll be happy to help.
If you’ve found this page useful, you may want to check out some of our other product guides: